- Continue Shopping
- Your Cart is Empty


Maxxis Minion DHF and DHR II Tire Combo [Rider Review]
Our "Rider Review" article series features the honest reviews from verified purchasers of Worldwide Cyclery. They contain the photos, thoughts, feedback & overall review you are looking for.
As far as a relatively inexpensive upgrade for your mountain bike you can't go wrong with a fresh tire. With so many choices out there it can get a bit daunting when making a tire choice. One of our great customers hares some thoughts on the Maxxis Minion DHF tire. Check it out!
Overview
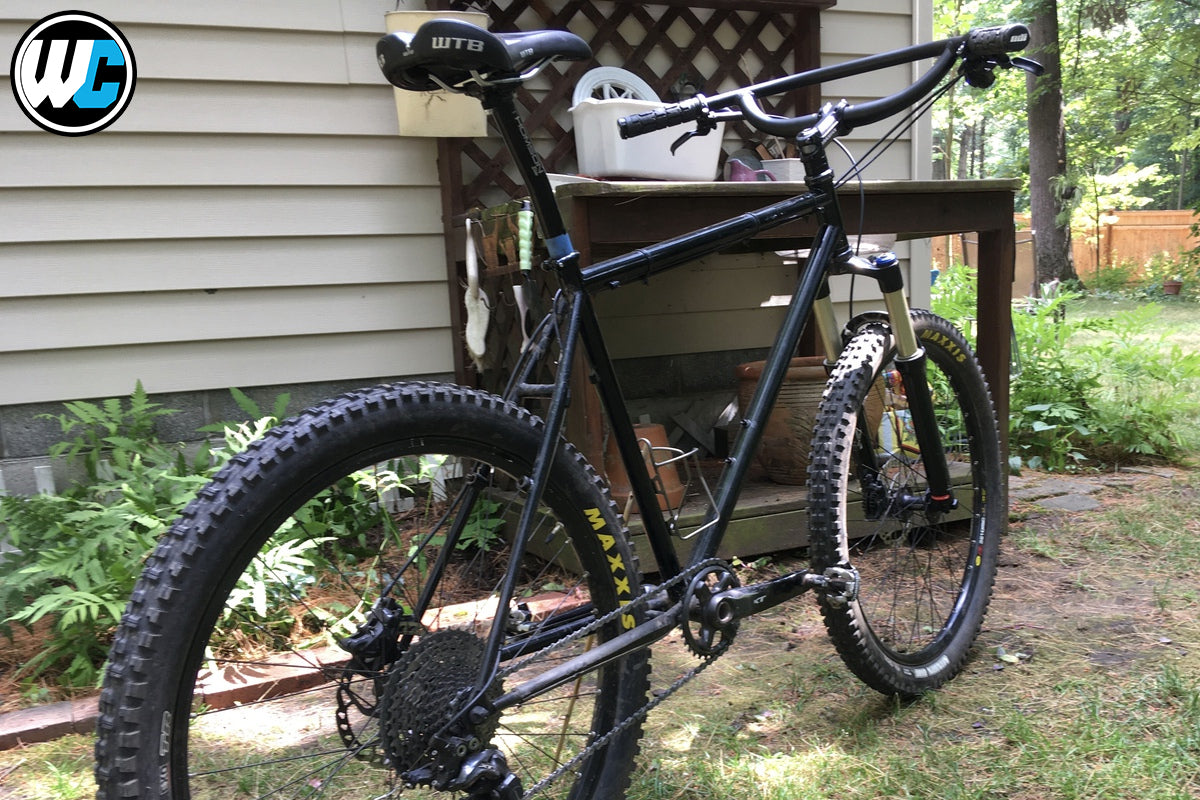
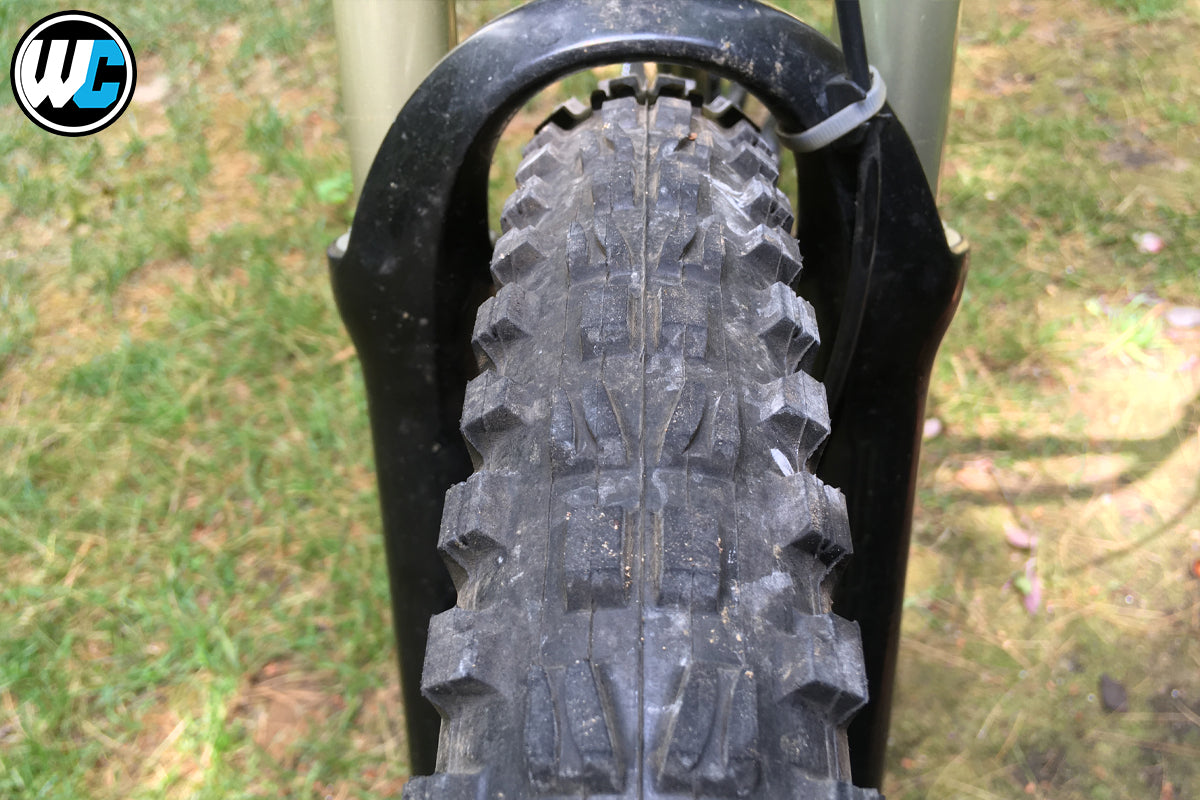
I kept wanting to ride my Vicious Metal Guru hard-tail at lower and lower tire pressures to increase my ride performance with sustained stretches (aka flow) on technical, rooty, and rocky Adirondack terrain. As I lowered the pressure, I inevitably kept getting pinch flats. That's when I decided to finally convert my hand-built Mavic clincher rims to tubeless, and I'm never looking back. I purchased the Maxxis Minions from Worldwide Cyclery based only on their reputation (and great online price). I chose the Minion DHF 2.3 for the front, and the Minion DHR II 2.3 for the rear. After the conversion to tubeless, I'm running both at around 20 PSI, and like Barq’s, both tires have bite. In the front, the Minion DHF links up to the trail much more quickly and sharply than my old Maxxis High Roller II when banking compacted berms, driving loamy singletrack, or shooting between loose cobbles.
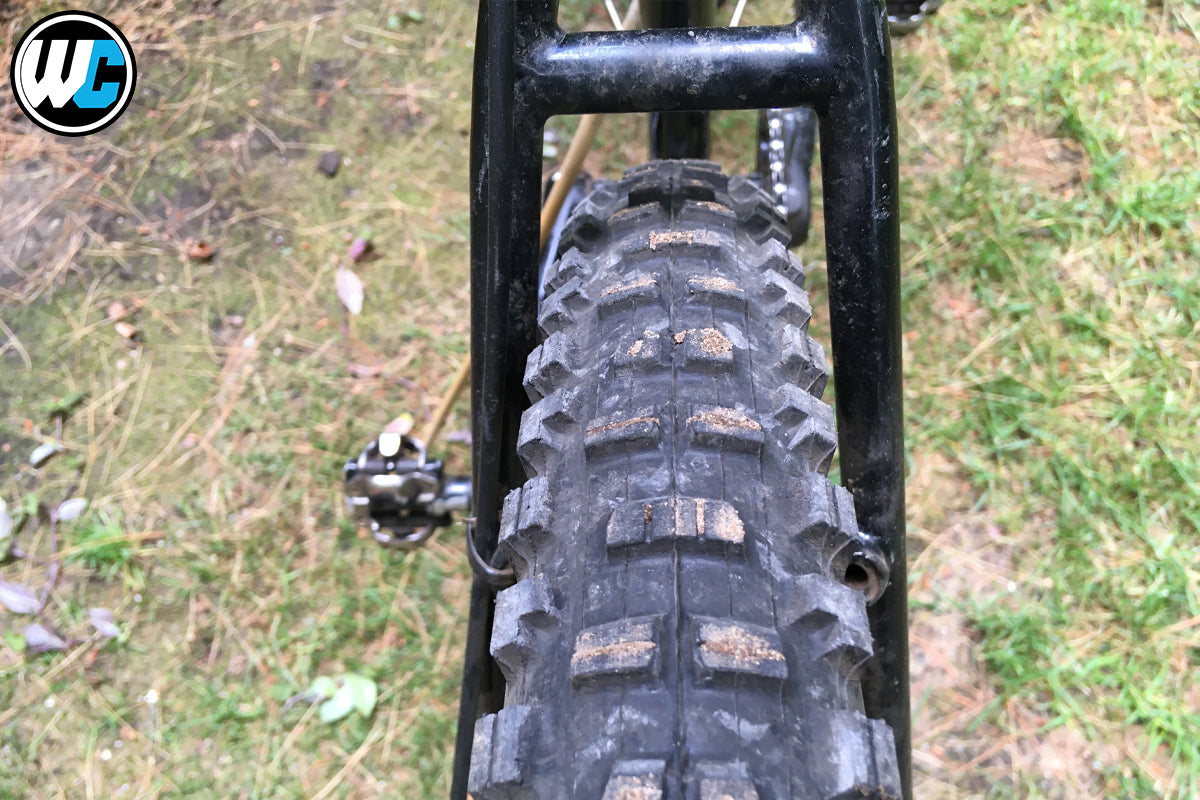
The DHR II has so far outperformed my old WTB Velociraptor, which is also a climbing beast. The DHR II has connected soundly with off-camber roots, granite outcrops, and loamy soils. I haven't tested it in soaking wet-riding conditions yet, but I try not to ride in the rain. The mass of the tire inflated is more voluminous than the WTB Velociraptor, which adds more cushion for small drops. I have had to push my motor harder with the lower PSI/wider tires, but for the amount of control and traction, it is worth the effort (plus, let's be honest - we're mountain biking - it's not supposed to be a walk in the park). I chose the DHR II due to its reputed climbing prowess, its volume, and sticky traction. The only reason I didn’t go wider with both tires was that my early-2000’s steely was max(x)ed out.
I don't notice a slower roll than other front tires I have used. This tire has given me control and confidence.
As for the conversion, I wanted to share a step-by-step for people who want the same thing, but do not want to purchase a new wheelset. The following are steps to convert to a tubeless set-up using your existing clincher wheels and a floor pump. This applies to both front and rear:
1. Remove the existing tire and tube from the rim. Remove any rim tape and leftover grime using a rubbing alcohol solution. Now is also a good time to make sure the spokes are properly tensioned and the hubs are adjusted and spinning smoothly.
2. Apply tubeless tape to the inside of the clean rim. Black Gorilla Tape can also be used if cut to the proper width (check YouTube for this procedure). Be sure to apply evenly and smoothly with no bubbles or folds. Neatness counts. Be sure to overlap the tape at the valve stem hole about one spoke hole on either side of the valve. Punch a small hole through the tape at the valve stem hole.
3. Install the tube you previously removed and the new Maxxis Minion tire. Inflate fully with a floor pump. This will seat the beads of the new tire into the rim.
4. Deflate the tube and remove at most only one bead of the tire from the rim using a tire lever. At least one entire bead should stay seated in the rim.
5. Remove tube.
6. Install your Stan’s No Tubes Tubeless Valves (purchased from Worldwide Cyclery).
7. Install the bead of the new tire that was unseated Step 4 in order to remove the tube. Be sure to add the proper amount of tire sealant to the inside of the tire before you finish closing the bead to the rim.
8. Inflate the new tire continuously and fully using a floor pump until the second bead seats. This should be easier because the first bead was already seated in Step 3 by using the tube. If you have an air compressor you can probably skip Step 3. You may or may not hear the distinctive “pop”.
9. Inspect the tire to ensure both beads are seated. The guideline above the bead on the tire should be fully visible and evenly spaced above the rim. Leave the tire inflated for a while to ensure it is holding air.
10. Reduce pressure to your desired riding pressure, and go for a test ride!

© 2026 Worldwide Cyclery


