- Shop
- Bikes / Frames
-
Components
- Tires / Tubes / Sealant / Valves
- Forks / Parts
- Rear Shocks / Parts
- Groupsets / Drivetrain Bundles
- Drivetrain
- Shifters
- Handlebars / Grips
- Stems
- Brakes / Pads / Adaptors
- Seatposts / Clamps / Levers
- Saddles / Seats
- Pedals / Cleats / Parts
- Wheels / Hubs / Rims
- Headsets / Parts
- Cables / Housing
-
Accessories
- Tools / Lube / Solvents
- Car / Truck Racks / Tailgate Pads
- Frame Straps
- Pumps / Inflation
- Chainstay / Frame Protectors / Fenders
- Computers / GPS / Electronics
- Hydration Packs / Bags
- Lights
- Water Bottles / Cages
- Gift Ideas / Novelties
- Indoor Trainers
- Bike Travel / Shipping Cases
- Nutritionals
- Locks
- Storage Racks / Stands
-
Apparel
- Helmets
- Jerseys
- Shorts / Bibs
- Gloves
- Shoes / Socks
- Pads / Protective Gear
- Pants
- Eyewear
- Chamois / Short Liners / Base Layer
- Chamois Creams / Embrocations / Butt'r
- Jackets / Vests / Hoodies / Flannels
- Casual Wear
- Headwear
- Brands
- Top Secret Sales (Do Not Tell!)
- Watch
- Read
- My Account
- Help / FAQ's
- Contact Us / Locations
- Call Us | 1-805-375-4525
- Why Shop With Us?
- About Us
- Continue Shopping
- Your Cart is Empty
RockShox Charger2.1 Damper & DebonAir Upgrade Kits [Rider Review]
Our "Rider Review" article series features the honest reviews from verified purchasers of Worldwide Cyclery. They contain the photos, thoughts, feedback & overall review you are looking for.
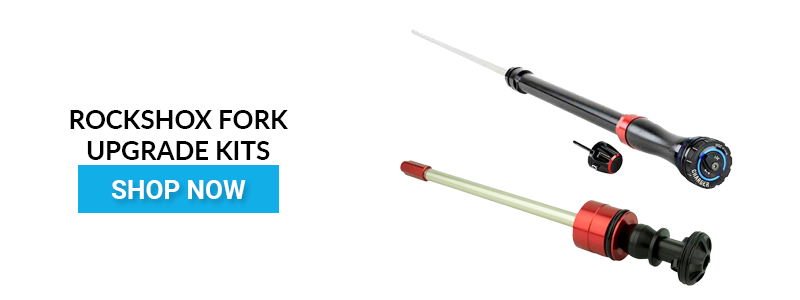
Suspension upgrades come in many forms, and one of the most practical ways to upgrade your suspension is to simply upgrade the internals. RockShox offers upgrade kits for both the damper and air spring, and our friend Scott recently installed them into his fork with some amazing results. Read on for more!
Overview
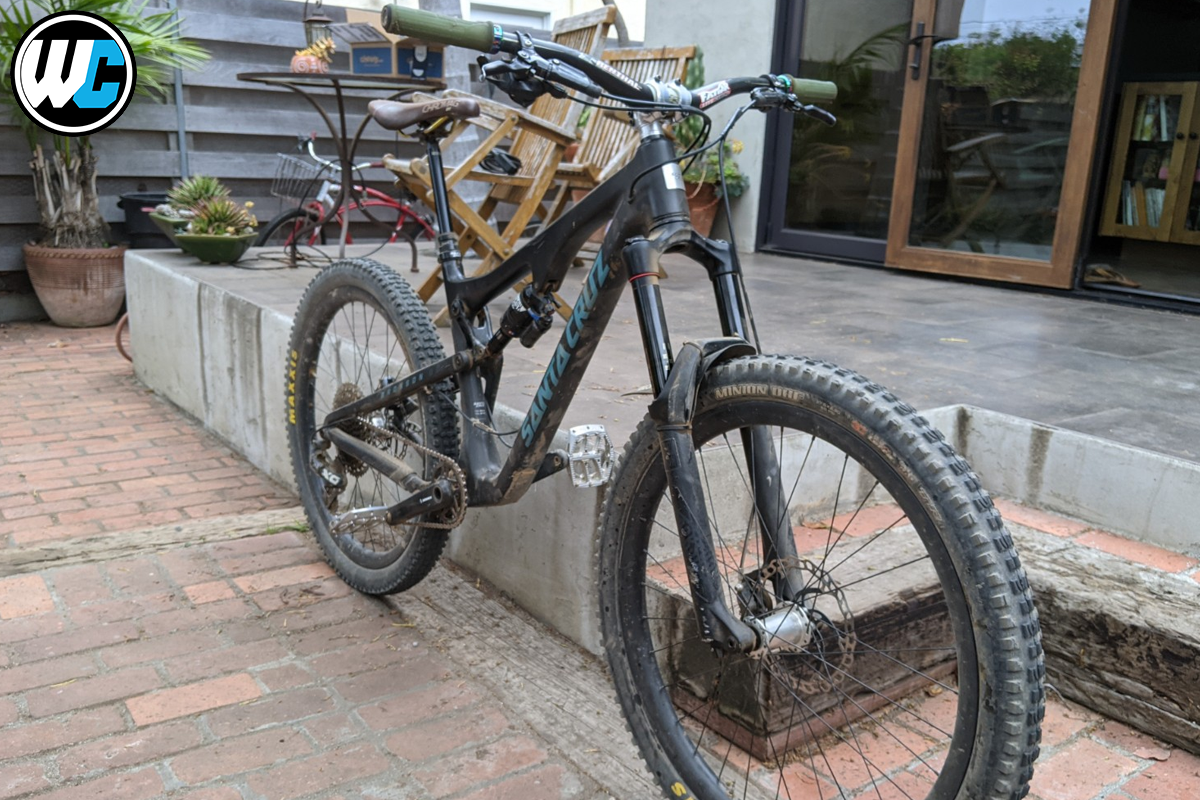
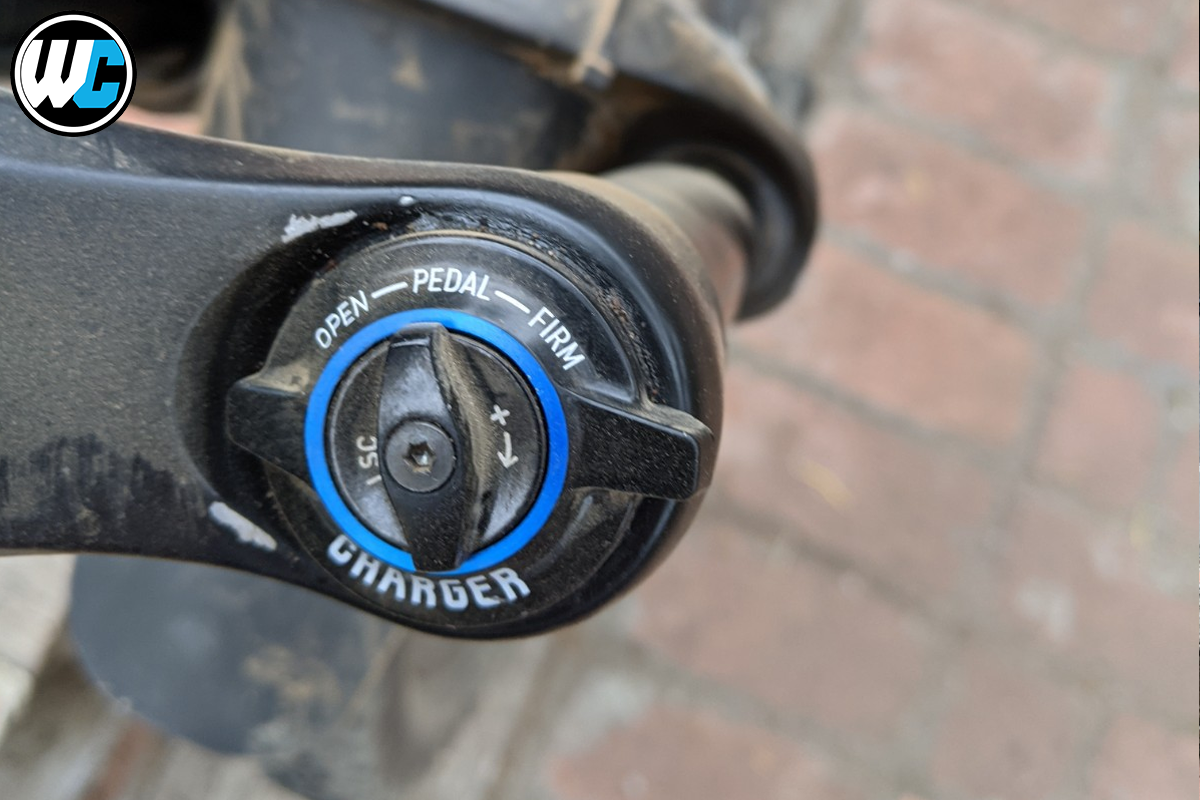
I recently upgraded the damper and air spring on my 2017 RockShox Pike and the result was like installing a brand new fork. I ride a 2017 v2 Bronson with 150mm travel in the front and the back and love flowy downhill trails with jumps. The original Pike came with the 2.0 charger damper. I admit for three years I never did the recommended maintenance and the fork was toast. I decided to upgrade the fork with the DebonAir C1 air spring (that extended the travel to 160mm) and the Charger 2.1 damper. Make sure to check if you have boost or non-boost forks because boost and non-boost Pike forks have different thread patterns.
The install was pretty easy. If you can handle doing the lower leg service on your fork then you can install the air spring and damper. Basically, you are just bolting the new damper in. The air spring is held in by a retaining ring which you can remove and replace with needle-nose pliers if you are desperate, but if you are going to spend some cash upgrading your fork then you can afford to go to Home Depot and buy a pair of snap ring pliers for 20 bucks. Make sure you get the kind that are “reversible” - which allows you to adjust them to open when squeezed or closed when squeezed depending upon if you are removing or “setting” the clip ring. Don’t forget the SRAM Butter and shock oil. Worldwide sells this as a kit. Google your fork but my Pike required 10mm oil per leg. The small container of oil is plenty. Buy some new foam rings while you are at it.
The difference is incredible. At low speed, the bike feels the same. Past 20 mph and it feels like someone used a flathead shovel to smooth out all the bumps out of berms and jumps. The chatter and sketchiness felt at speed are greatly reduced.
I like to Strava my rides and on my first trip to my local trails, I earned a personal best on 6-7 of my downhill sections. I climb like a turtle so I don’t have anything to say about that stuff.
A friend warned me that moving from 150mm to 160mm on the fork would mess up the geometry but I disagree. The bike still handles fine at low speed while climbing and on the flat. I think the slightly slacker angle helps the bike feel more grounded and less twitchy at high speed. You should know that for me going down takes priority over going up and I already run a very short stem with spacers under it and 40mm rise bars. I like the front end to feel light. My heart isn’t broken if I’m climbing something steep and I need to stop and hike the bike because I can’t make it. I’ve always been like that so it's important to keep that in mind if you are thinking about moving from 150 to 160. You could do everything I did and replace the air spring with a 150mm model to keep the geometry the same.
Final Thoughts
I can’t attribute the change in performance to the air spring or the damper or both. Who knows, but whatever it is, it definitely makes a noticeable difference and you will feel it for sure. Money well spent.
July 16, 2021
Charger 2.1 › DebonAir › Rider Review › RockShox › Upgrade Kit ›
Top Products For You...
Recent Blogs
--- Shop Info ---
Newsletter Signup -
© 2025 Worldwide Cyclery


